


🚗 Light Up the Night with Style!
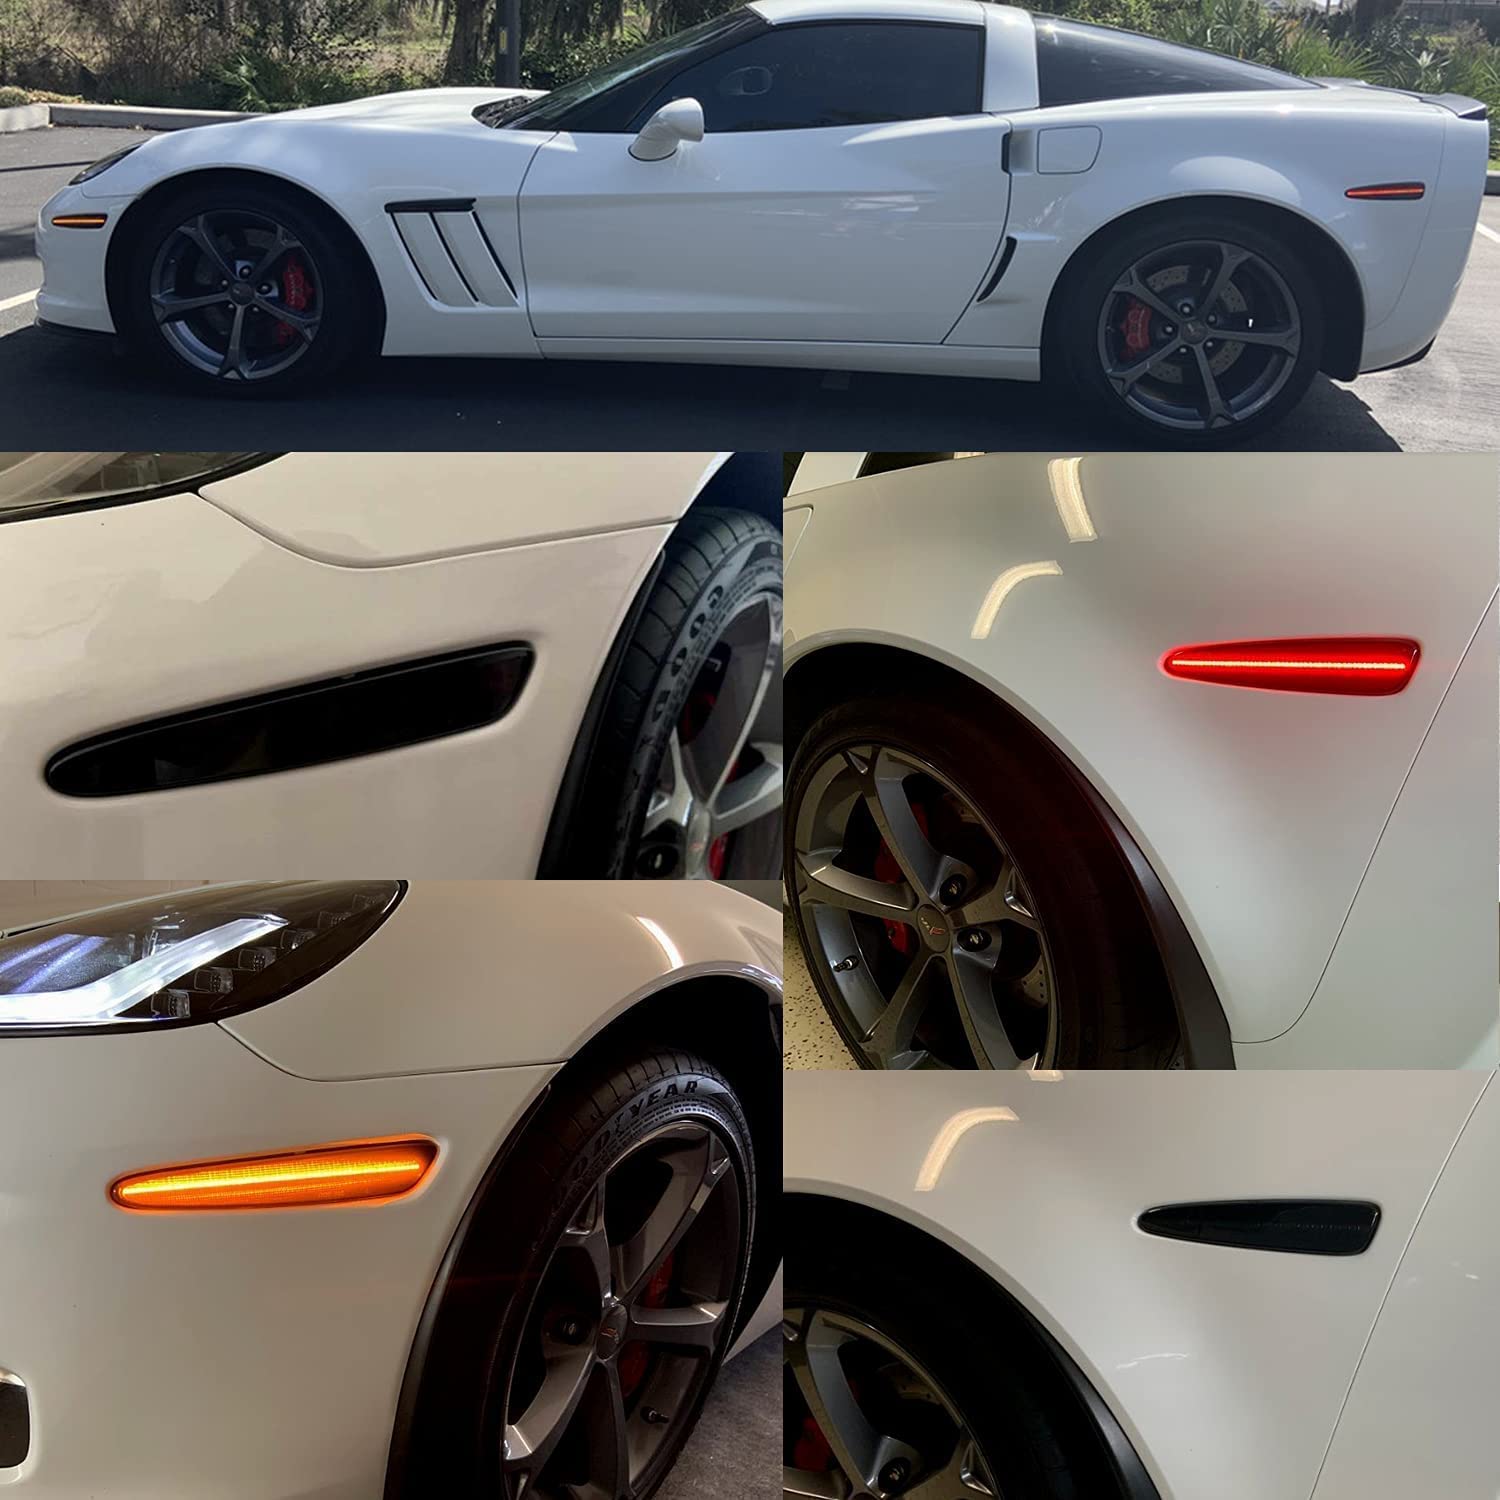
Upgrade your Chevy Corvette C6 with NSLUMO LED Side Marker Lights, featuring a sleek smoked lens design and 192 high-power SMD LEDs for enhanced visibility and safety. Designed for easy installation and built to withstand the elements, these lights are the perfect accessory for any Corvette enthusiast.


| Brand | NSLUMO |
| Item Weight | 10.7 ounces |
| Package Dimensions | 9.33 x 4.02 x 3.11 inches |
| Item model number | C6 Led Side Marker Assembly |
| Is Discontinued By Manufacturer | No |
| Manufacturer Part Number | 04-NS-172227 |
| OEM Part Number | 10316651, 10316652, 10316656,10440722 |
| Position | Outside |
| Mirror Lighting Type | automotive-exterior-side-clearance-marker-light-bulbs |
| Voltage | 12 Volts |
J**N
Excellent
Excellent
T**B
Works great, but there is a trick to installation
The plug from the light doesn't appear to fit the generic GM plug used for the side markers. You have to unscrew the plug from the original side light, pull out the light bulb, then plug the new connector to where the light bulb used to fit.
J**C
Looks good only sticks out a bit very bright
That the rear side marker socket does not twist in tight like the factory one had to use tape so it would not vibrate out the front’s were perfect
F**J
Because I purchase from Amazon so much, I feel doing a review is important for future buys!
I've been doing a restro on my C6 Corvette and bought these side markers because they looked very cool! Backs were easy to install, fronts, not so much. Had to take the front wheels off each side as well the fender wall. once that was done, the rest wasn't that bad. They looked amazing, however one stopped working after about a month, then a second one stopped. These were a bit pricey so I would have thought they would be of quality. So you might want to shop around for others. make sure you read the reviews.
D**S
Cheap, easy, looks great
Probably the single easiest mod I've done to my car except installing the skip-shift bypass fuse.2 tools required: plastic trim removal tool and a torx screwdriver.Access the rears through the two outer tail lights - one screw at the top of each, pulls out toward you. Fronts accessed by popping out some plastic molding pins in the front wheel wells (turn the wheel away for better access, lifting/removing wheel is not required). The existing lights are held in place with plastic angles like on the new ones - pinch the angles to release. The wiring detaches with a ~90 degree twist, bulb pulls out, new light plugs into bulb socket, twists back on the way it came off. Then new light snaps in same way the old one did.If you already know the above process swapping all 4 lights is probably 10 minutes of work.New lights are much brighter than the old ones. My images show the smoked lenses.
A**R
Looks good
Looks better then stock
D**N
Look amazing
They compliment the Morimoto headlamps and taillights I installed last year
T**S
Almost good
Not as snuggly held in place as the original lights
Trustpilot
1 month ago
1 day ago