Desert Online General Trading LLC
Dubai, United Arab Emirates
Desert Online General Trading LLC
Dubai, United Arab Emirates


💧 Stay refreshed, stay ahead — pure water, your way.
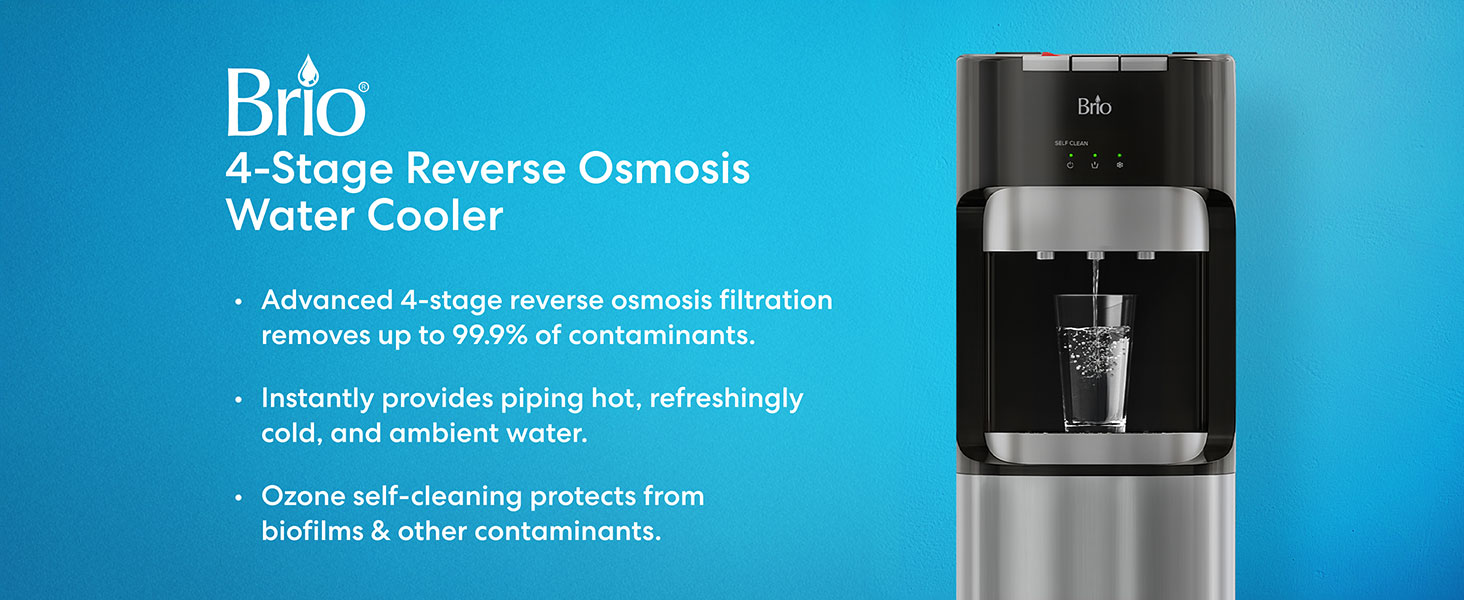
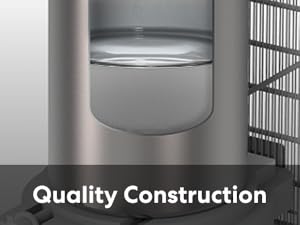
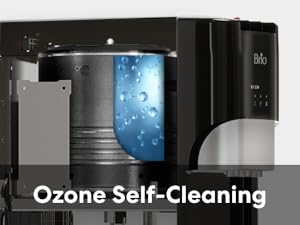
The Brio Commercial Grade Bottleless Reverse Osmosis Water Cooler delivers ultra-pure hydration with a 4-stage filtration system, offering hot, cold, and room temperature water on demand. UL approved and built with commercial-grade durability, it features a self-cleaning ozone system for easy maintenance and includes all necessary filters and installation components for quick setup. Ideal for professionals seeking reliable, clean water without the hassle of bottles.


W**L
Excellent Water Cooler - Setup was a beast, but I hope to simplify that with this review!
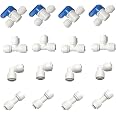
Off the top, this product is well designed, and assembled with quality components. The instruction manual could be better, and it would be excellent if someone could find a link to it online. If I am able, I will take photos of the manual and post it with this review.The water tastes great! I purchased this unit to get myself into the habit of drinking more water, and will probably add around 1/8 teaspoon of Celtic Sea Salt to remineralize the water. I find myself craving this water now, and with the built in cooling function, it makes everything quick and easy.Features: Hot, Cold, and Room Temp water on demand. Perhaps the best feature is that you can press a rocker switch on the back of the unit to start a 90 minute cycle to pump pathogen killing ozone directly into the system to clean the tanks and the lines. It's also worth noting that the instruction manual includes instructions for removing the water tanks to clean them independently, which I would definitely advise you to do at regular intervals. The instructions don't say how often you should completely clean the unit, but I'm going to check it out at 3 months, and then I can't imagine it being necessary more than once or twice a year (if that).I believe the ozone feature is important, as many RO systems show an accumulation of bacteria in the reservoir over time. I have performed the ozone cleaning cycle once already, and if there was any ozone gas leaking, it was minimal as the ozone odor was extremely faint. Plus any leakage would just clean and refresh the air around your cooler!I started off trying to install the system by splitting off of the 1/4" line behind my refrigerator. After 3 days and 4 trips to the hardware store, I reread some of the reviews and realized I would probably get better results splitting off of the cold water line coming in for my washing machine. This worked out great, because it provided additional pressure, and I wanted to place the cooler in the laundry room, so I didn't need to drill any holes.To split off from the cold water line, I used a standard 3/4" garden hose "Wye" connector, to which I reconnected the cold water line to the washing machine, as well as a 3/8" OD x 3/4" FH "Dishwasher Elbow". Lastly, I purchased a 3/8" OD "Cap" to cap off the end of the splitter that ships with the unit. On all connections, I made sure to use the included PTFE sealing tape. This is critical. In the future, I will probably purchase a gasket from a hardware store to further prevent any leakage from the cap. Caps are notorious for leaking, and I pretty much got it stopped by adding a second layer of teflon tape to the connection point for the cap, but a rubber gasket would definitely improve things, as I can feel a tiny amount of water leakage at the connection when I check it after a couple of days.For the drain line, I just ran it out of the back of the unit and pushed it down the drain line in the wall where the washer water drains.The install isn't the hard part, it's finding the parts. Hopefully this review will help you out!Note: After installing I reached out to the company to check on the availability of parts. I was told that they do keep parts on hand, so serviceability should be taken care of.When you look inside the unit, they are parts that should be easy to locate, and there is enough room to get to things and make your own repairs if the pump or compressor go out in the future. All in all an excellent product at a really amazing price. A+
J**E
Do not buy. Poor quality machine and terrible customer service
The media could not be loaded. 1. Arrived with an outdated manual. It was missing instructions about the installation of the reverse osmosis filter. I learned this through customer service.2. Unit has a water sensor chip but it’s nowhere to be found in the manual. I learned of it on a hunch as I tried to troubleshoot why the machine was not dispensing water. I prematurely turned on the water without proper connection and water flowed into the machine and landed on the base of the machine where the sensor resides, a.k.a. chip the chip resided. It was designed to prevent the machine from functioning. It automatically shuts the machine down. Nice feature unfortunately, it was not made known or advertised.3. I called customer service four times for assistance in troubleshooting. They answered two out of four. On call three and four they made me hold I held more than 30 minutes each time and never got an answer. In fact, I was disconnected.4. I decided to email them since they did not do well with phone inquiries. . Via email the only solution offered in regards for the room temperature water (watch my video) was to use a combination of hot and cold water to make a room temperature. They seriously said that. I got the response three times despite my full disclosure of the problem. They refused to troubleshoot futher. The product was returned.5. In regards to the material of the dispenser- it’s cheap. It’s all plastic. Except the door that houses the filters that was stainless steel. I think.6. Installation was somewhat easy if you know how to use the tool they provided. It is used to cut the hose but that was not explained.7. Prepare for a 20 minute set up each time the filters are exchanged. That is explained in the installation manual.
C**L
Done With Ready Refresh Bottles - Clean, Crisp, Perfect
A few quick comments on a real installation I did myself, the process and the quality of the water.1. - Other than the holes you will need to drill, it has everything you need to install. Plenty of supply and waste water tubing, a handy cutter with a tool on the end shaped like a "U" to remove the water plugs on the unit before installing the lines (someone said the inlet was too small? Because there is a plastic plug to keep it clean. Same for the waste line). Turn off your supply sink line, unscrew the hose, install the Brio valve and reconnect your line to the sink. Then just add the screw nut first and then the supply line to the Brio valve and good to go. Tap the vertical or horizontal waste line of your sink with a 7/32" drill, run your hose to that and the clamp with foam backed sealer - perfect. No mess and no leaks!2. Important - You must flush both carbon filters first and they give you the adapter to do it. Just attach to your supply line and run it in a bucket or connect to your now installed waste line. Do it for at least 15 minutes. If you don't you will have a premature failure on your other expensive filters and the water will come out slow forever. When the water is clean on both carbon filters, install by simply twisting and swing back in. Very easy. Let it fill and flush out the first batch or even two. Then let it fill and turn on cold and hot switches. Let it sit for 30 minutes.3. The taste - better than Poland Spring/Ready Refresh. We were spending $850+ on delivered water. This will be half of that with filter changes and no more lugging 40lb bottles. It's crisp and fresh. RO is the way to go. Enjoy.