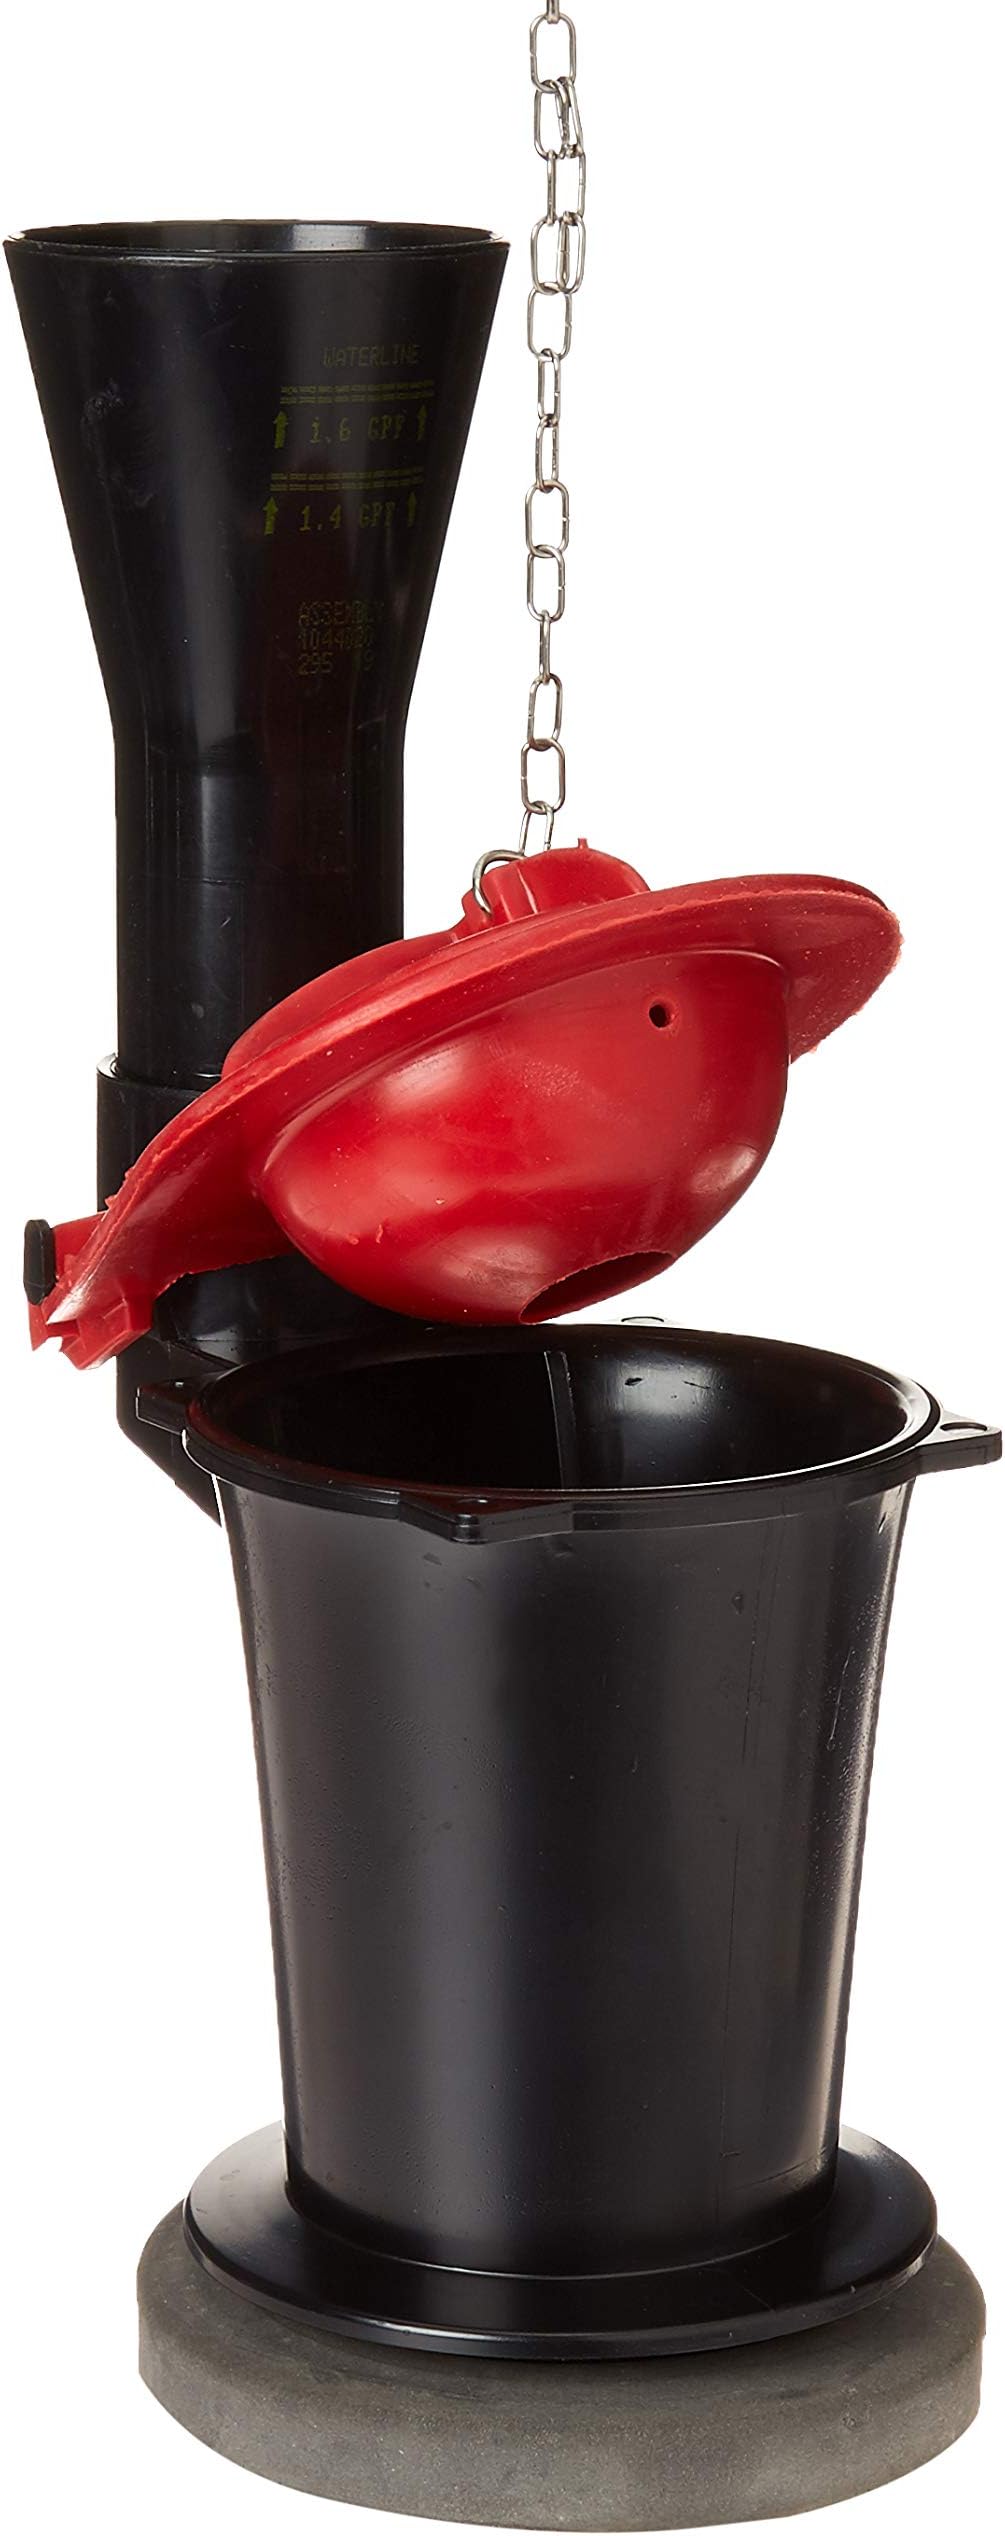
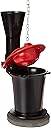
🚿 Elevate your flush game with KOHLER’s ultimate durability kit!
The KOHLER1044458 Flush Valve Kit is a premium metal replacement part engineered for durability and longevity. Featuring 2-inch flare inlet and outlet connections, it ensures a seamless fit for KOHLER plumbing systems while protecting your product warranty with genuine KOHLER components. Compact and robust, this kit is designed to maintain optimal flush performance and reliability.
Material | Metal |
Brand | KOHLER |
Item dimensions L x W x H | 5.9 x 14.5 x 6.2 inches |
Inlet Connection Size | 2 Inches |
Inlet Connection Type | Flare |
Outlet Connection Type | Flare |
Number of Ports | 2 |
Specification Met | not_applicable |
Valve Type | Float Valve |
Global Trade Identification Number | 00650531286864 |
Manufacturer | KOHLER |
UPC | 650531286864 |
Part Number | 1044458 |
Item Weight | 1 pounds |
Product Dimensions | 5.9 x 14.5 x 6.2 inches |
Item model number | 1044458 |
Is Discontinued By Manufacturer | No |
Color | Unfinished |
Style | Yes |
Finish | Unfinished |
Item Package Quantity | 1 |
Included Components | Flush Valve Kit |
Batteries Included? | No |
Batteries Required? | No |
R**.
Product dimensions and install.
Dimensions are closer to 11x6x4 and 4" up to the flapper. I put some petroleum jelly on the gasket where it meets the valve, this made it MUCH easier to turn in place. Works great.
G**Z
Priced well
Works at it should on Kohler toilets
W**T
Only freezing the gasket worked for me
Anyone reporting that the installation of this Flush Valve was easy maybe was not using the same Kohler 1044458. The gasket is very firm and impossible to adequately compress by pressing down on the valve. I tried all the tips from the forum including olive oil, etc. I found two tips that finally allowed me to install the valve. The use of while and black Sharpies to mark the alignment of the valve tabs with the toilet hole was useful (from Julie). After about an hour of pressing on the valve with no luck, I used the compress and freeze tip (from Nancy). I used two 5 inch squares of 1/2 inch plywood to sandwich the gasket. Then using four, 2 inch "C" clamps to compressed the gasket to about 1/4 inch. I put it in the freezer overnight. In the mooring I removed the clamps and carefully used a knife blade to separate the frozen gasket from the plywood. The gasket easily slipped over the plastic tabs on the valve and, using the alignment marking, I very easily inserted and twisted the compressed gasket and valve into place. I left if for a couple of hours to allow the gasket to thaw and decompress before turning on the water.
F**D
It worked fine... but only really needed the rubber seal
Product worked fine... I applied olive oil to both surfaces of the rubber seal... lined up the tabs after inserting the seal on the unit. Rotated 15 to 20 degrees while pressing down hard enough to turn (both hands). Upon inspection of the old unit I saw it could have been re-used... just needed a new rubber seal and flapper... that woul have saved a few bucks. I cleaned up the old unit and will re-use it in 10-12 years lol. I can see why some folks had trouble getting enough downward pressure to rotate it... it takes some brute force.
M**V
Difficult to install
Part works fine for my toilet and Kohler website has a nice parts identifying feature. Installation was very difficult though. I was afraid I’d break the plastic funnel and/or tabs by applying the force necessary to compress the seal enough to lock it in place.Kosher suggested boiling the seal for 2-3 minutes to soften it up. Others suggested spreading vegetable oil on both sides of the seal. Neither helped.I finally tried pushing down on the center with a rubber 3lb dumbbell with one hand while turning with the other and was finally able to generate enough force to rotate the part and get a good seal.
W**J
Installation Steps
Replacing this part can be tricky, so I have compiled these detailed instructions based on several reviews and YouTube videos to help make the process smoother.Installation Steps:1. Dry the Inside of the Flush TankUse a towel to thoroughly dry the inside of the flush tank.2. Remove Rubber SealTake the thick rubber seal off the bottom of the new part.3. Position and MarkPlace the new part into the flush tank to determine where the three bottom tabs align with the triangular opening in the tank floor. Mark these three positions clearly on the flush tank floor.4. Lubricate the Rubber SealGenerously apply olive oil to the thick rubber seal and cover the top, bottom, inside, and outside surfaces.5. Reattach the Rubber SealReinsert the lubricated rubber seal back onto the black plastic part.6. Clean Your HandsWash your hands thoroughly. You will need a firm grip to twist the part into place, and any oil or residue could make it difficult to handle securely.7. Remove the Red FlapperDetach the red flapper from the black part before installation.8. Insert and AlignInsert the black part into the tank, aligning the three tabs with the marks you made in Step 3.9. Secure the PartUsing a baseball or softball, press down firmly and twist the black part into place. Apply force carefully to avoid cracking the part.10. Good Luck!Take your time and be patient, the fit is tight by design.
A**R
Another helpful Tip!
This is a genuine KOHLER replacement part that is KOHLER quality, not some after market cheap copy such as a flapper I ordered when I was not paying attention! Thanks to TekLord's helpful instructions (see his comments) the installation went smoothly, but I could not have done it without his help!! My toilet is once again working the way it did when it was new, however I did learn one other tip that I'll pass on to you. I had adjusted the water level previously by turning the adjusting screw Clockwise so that it would allow a higher water level in the tank and consequently more water per flush. As I found out....It was a bad idea, as it caused me some problems. After installing the flush valve I shut the water line off at the wall so that I could tell if there was any leakage at all from the new Flush valve assembly. As I sat there watching it I saw the water level drop slowly to a certain point and then stop. I also noticed a thin stream of water coming from the fill tube running down the inside of the overflow pipe. I thought , "GREAT! Now I have to replace the the fill valve! :^( I went on line to see if I could find some instructions for checking the fill valve. I did, and in them I found that the tip of the water tube that runs from the fill valve has to be above the tank water level otherwise it syphons water back into the overflow. so I looked at the overflow tube again and found the proper water level mark...adjusted the water level screw counterclockwise to drop the water level to that mark and Voilà, the water stopped syphoning! I shut the water supply line off and waited 3 hours to check the tank water level. It stayed right at the level of the mark!YES !!!!!! :^)
B**X
Fit my old device.
fit perfectly. Eliminated the running of the toilet.
Trustpilot
3 weeks ago
1 month ago