Some deliveries may take a little longer than usual due to regional shipping conditions.

DOWNLOAD THE APP


Customer Services
Copyright © 2025 Desertcart Holdings Limited
DOWNLOAD THE APP
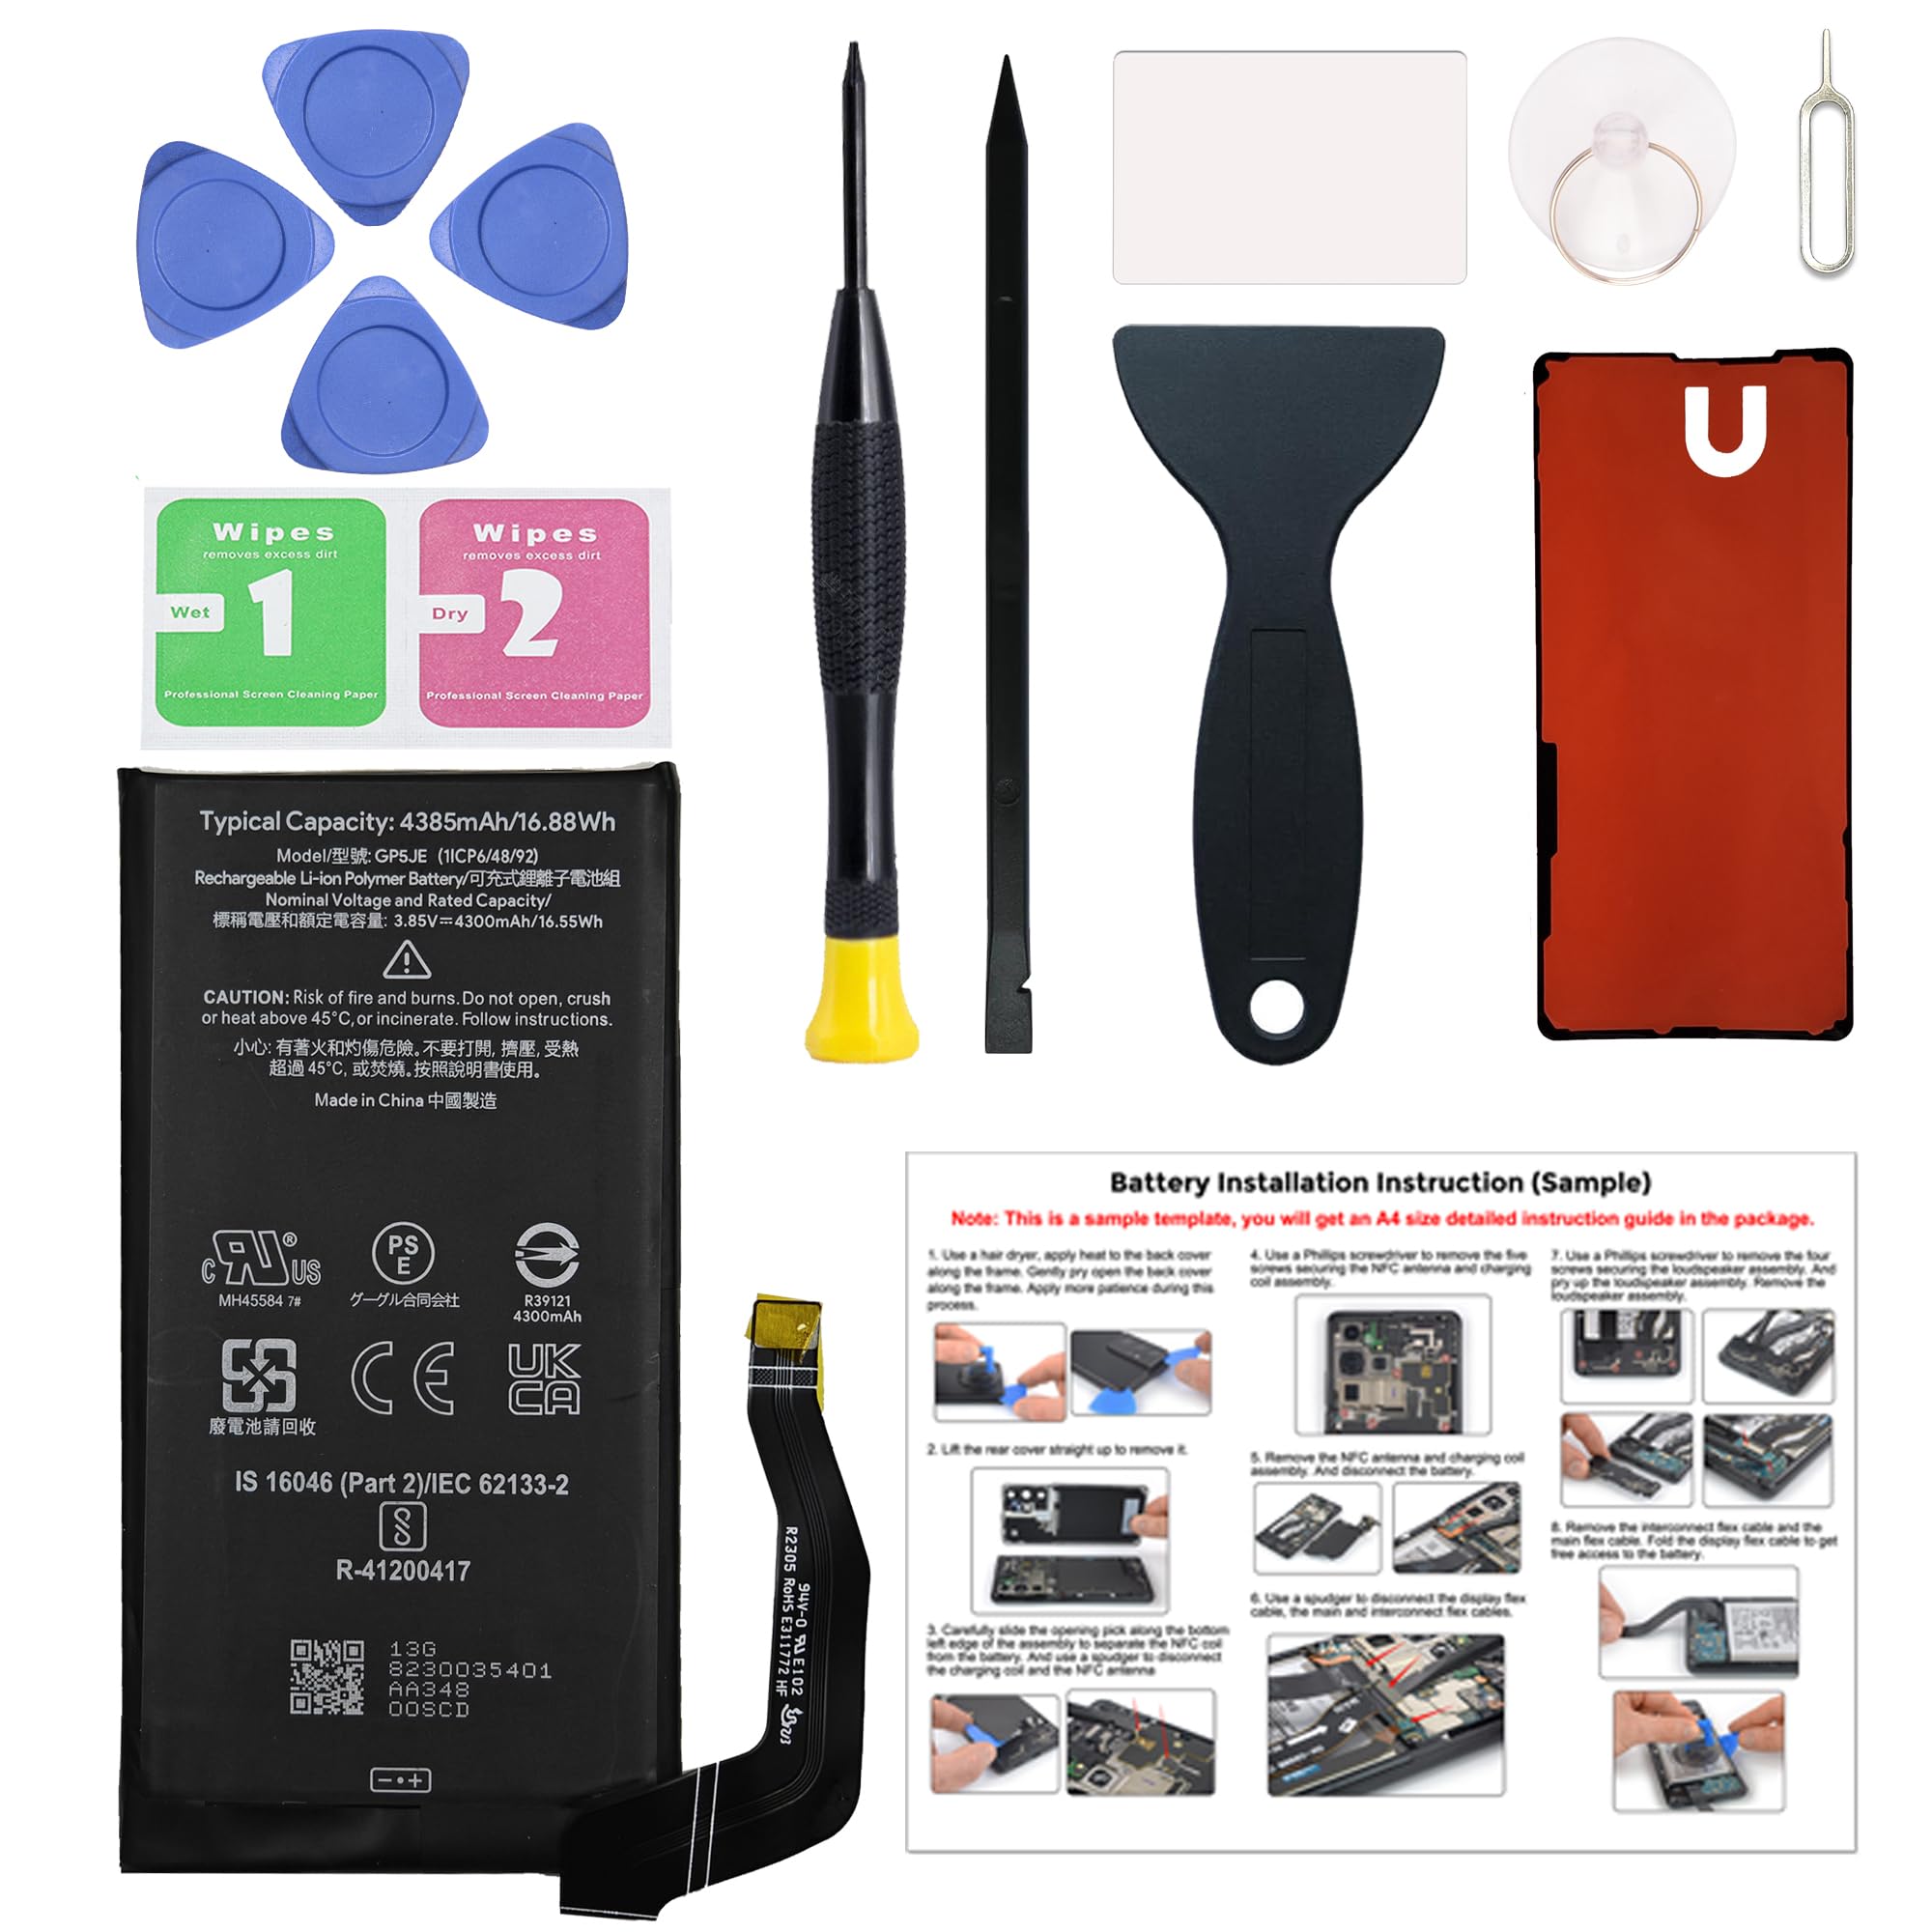


🔋 Power up your Pixel 7A — DIY battery swap made sleek and simple!
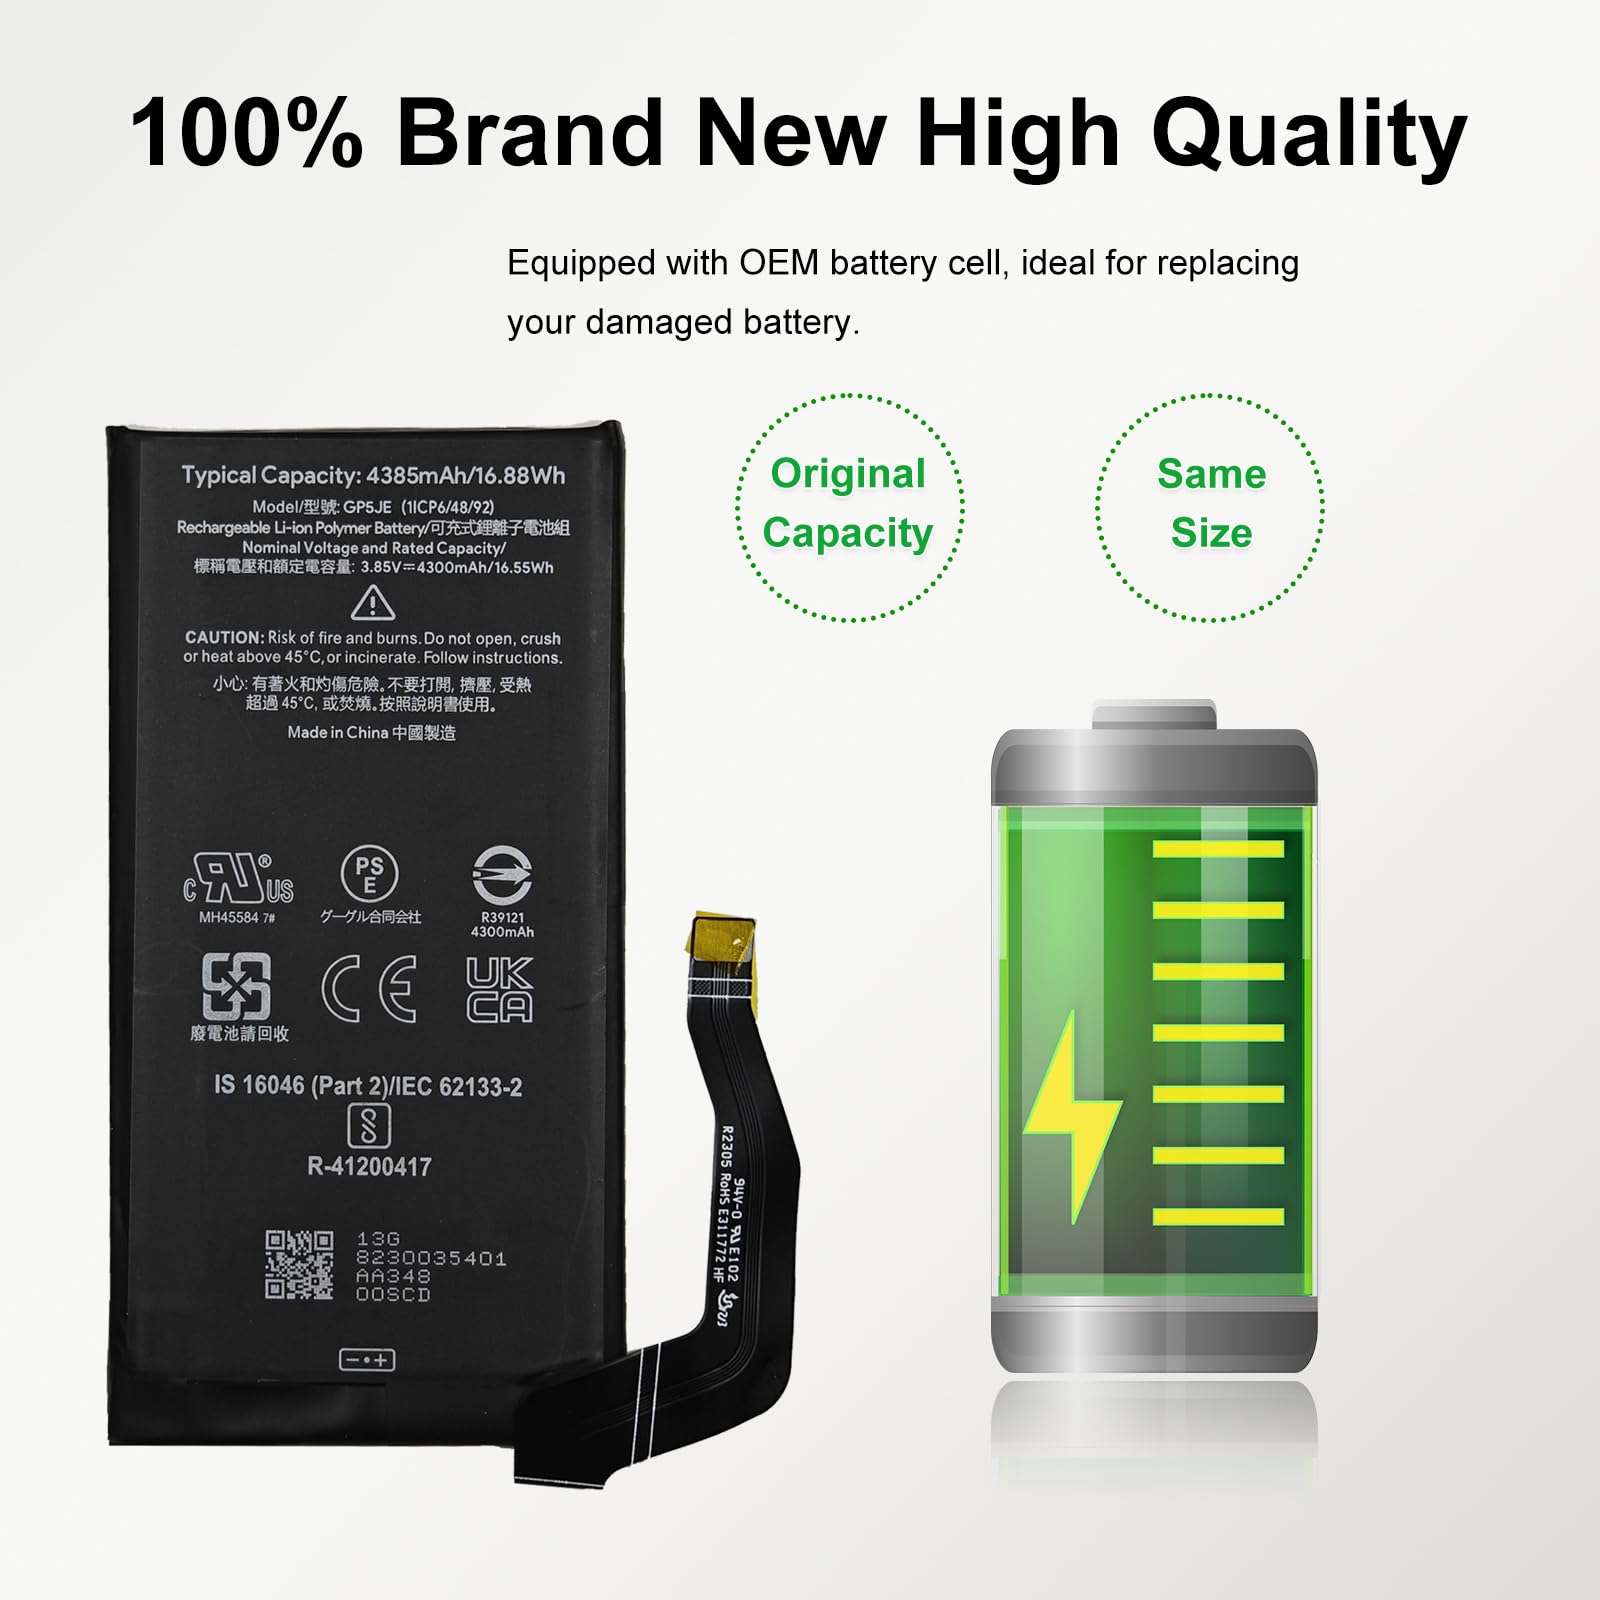
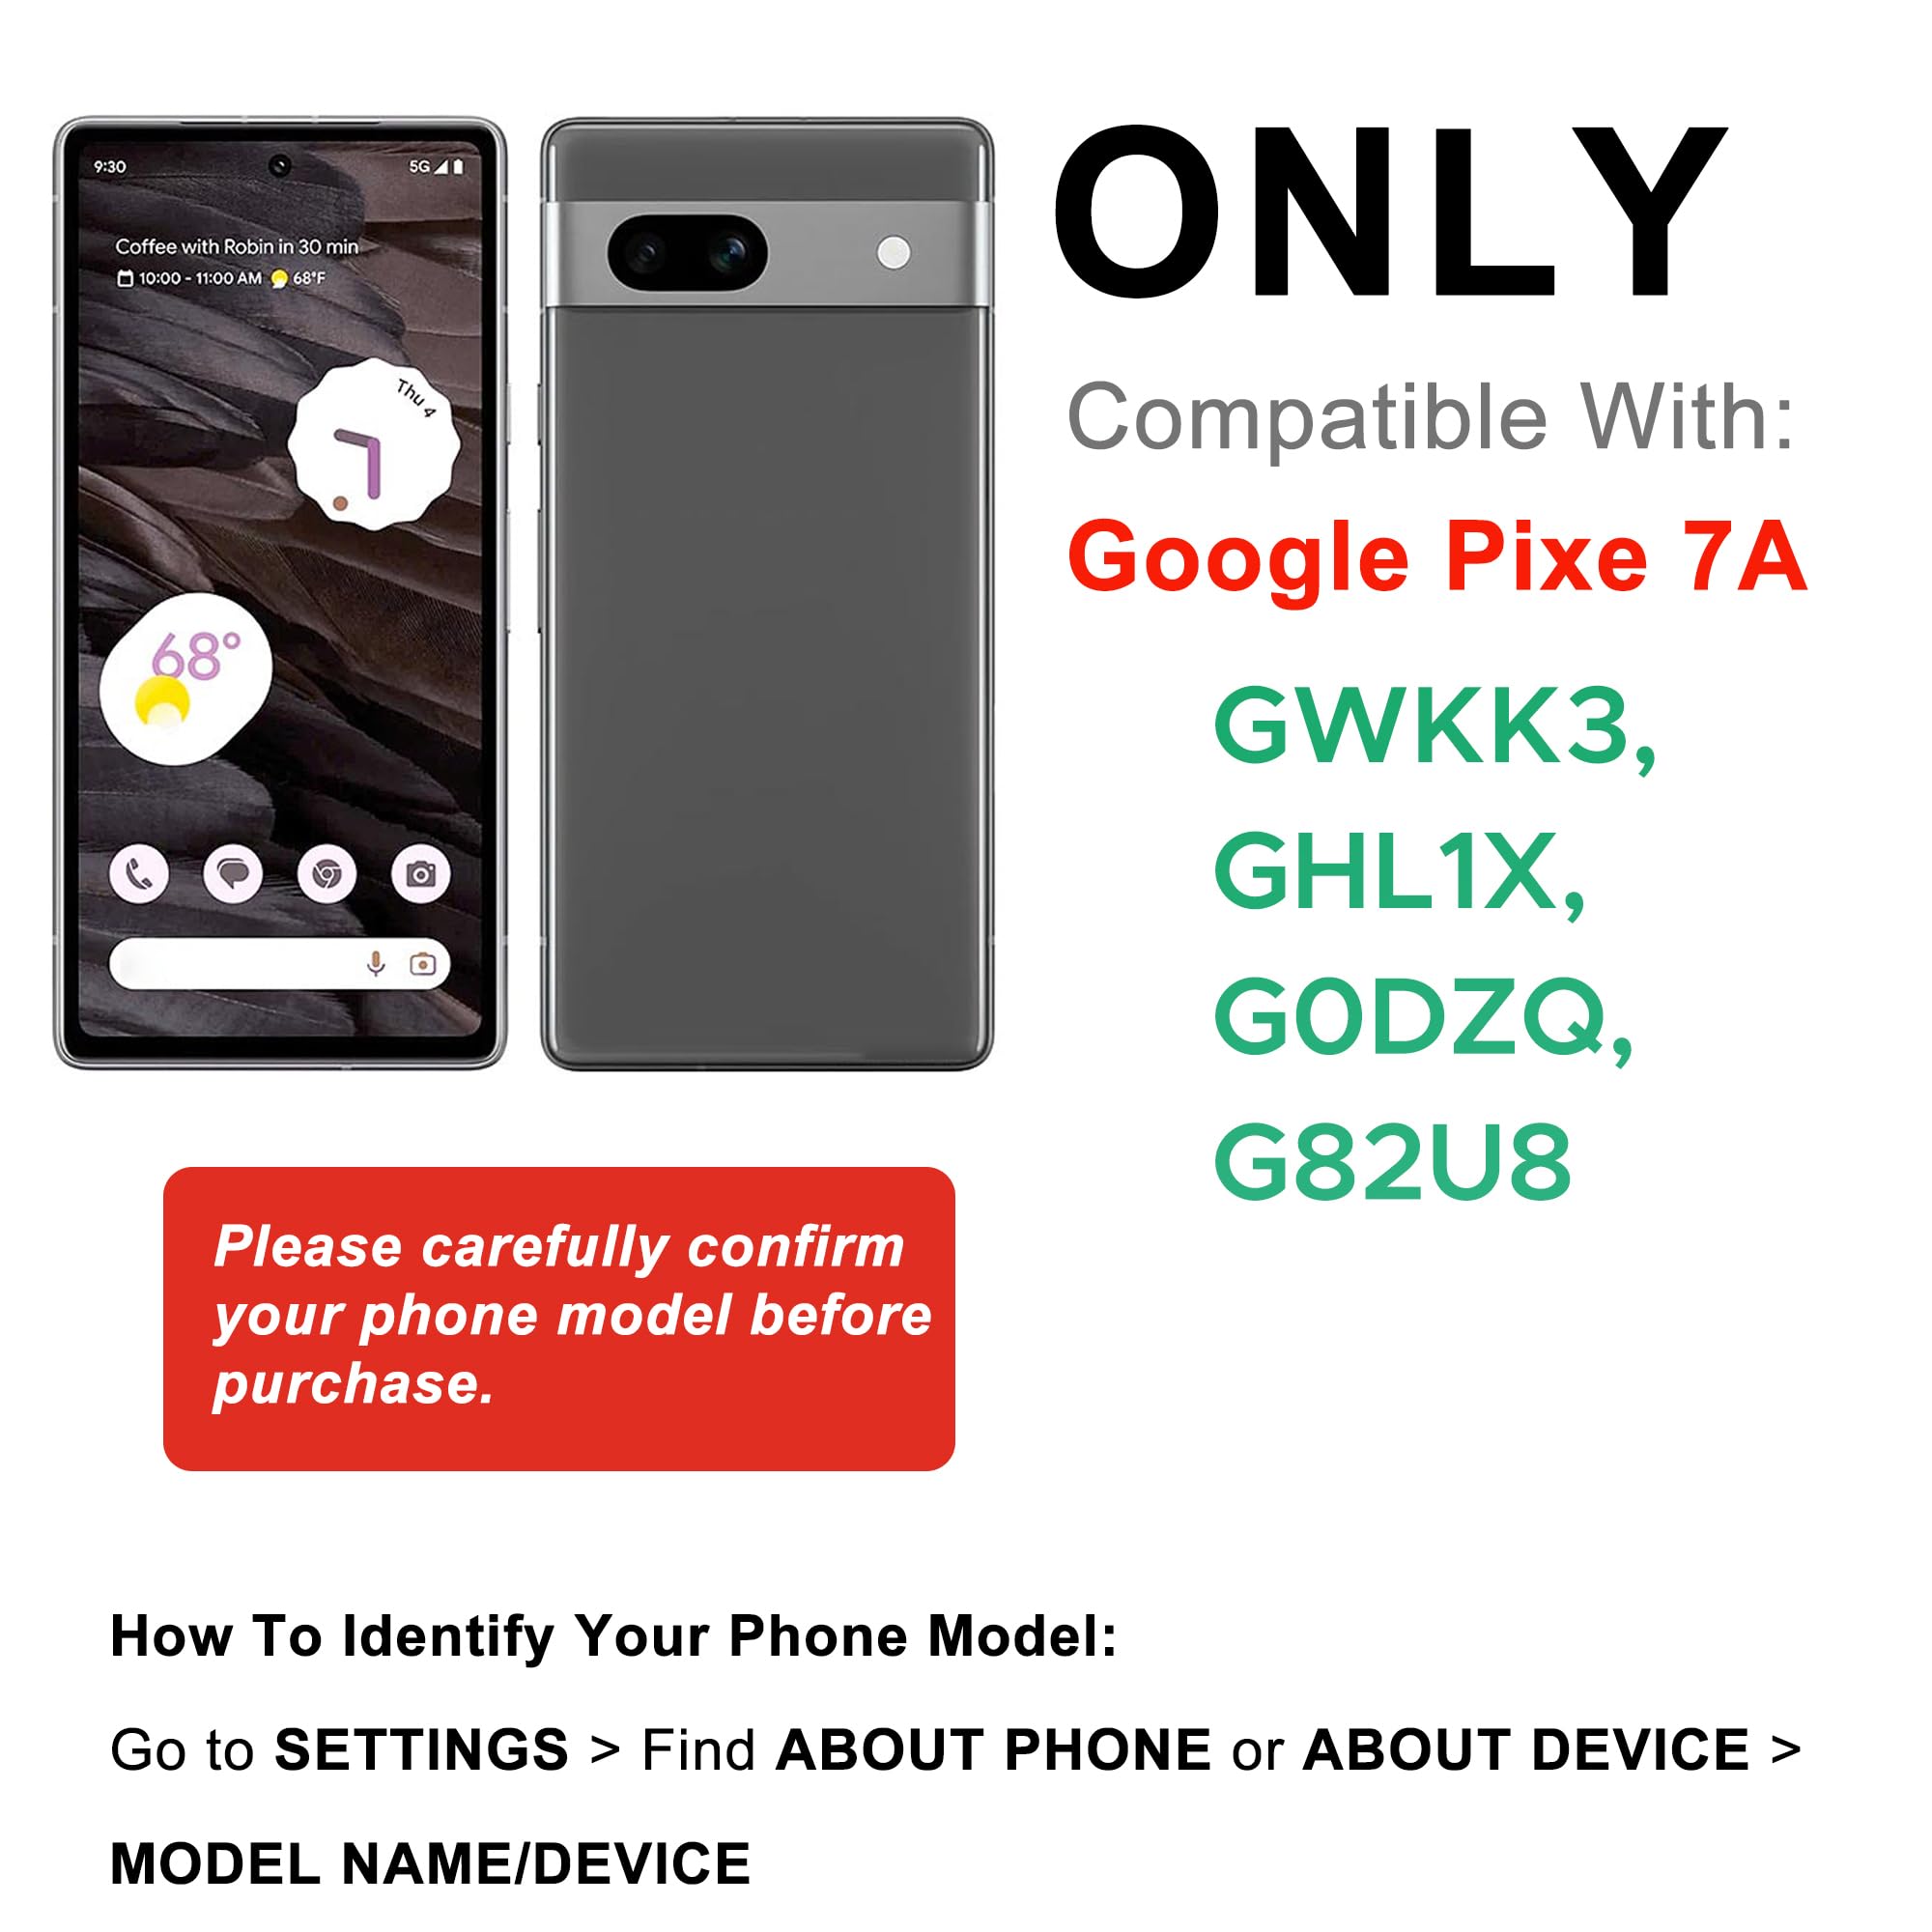
This New Upgraded Battery kit for Pixel 7A delivers OEM-quality performance with a brand new zero cycle Li-Po cell, rigorously tested to UL2054 standards. Designed exclusively for Pixel 7A models GWKK3, GHL1X, G0DZQ, and G82U8, it includes a professional-grade toolkit, pre-cut original adhesive, and a detailed repair guide to ensure a smooth, confident DIY battery replacement that restores your phone’s longevity and power.
| ASIN | B0DB624DXW |
| Batteries | 1 Lithium Polymer batteries required. (included) |
| Best Sellers Rank | #16,811 in Cell Phones & Accessories ( See Top 100 in Cell Phones & Accessories ) #35 in Cell Phone Replacement Batteries |
| Customer Reviews | 4.1 4.1 out of 5 stars (82) |
| Date First Available | July 25, 2024 |
| Item Weight | 5 ounces |
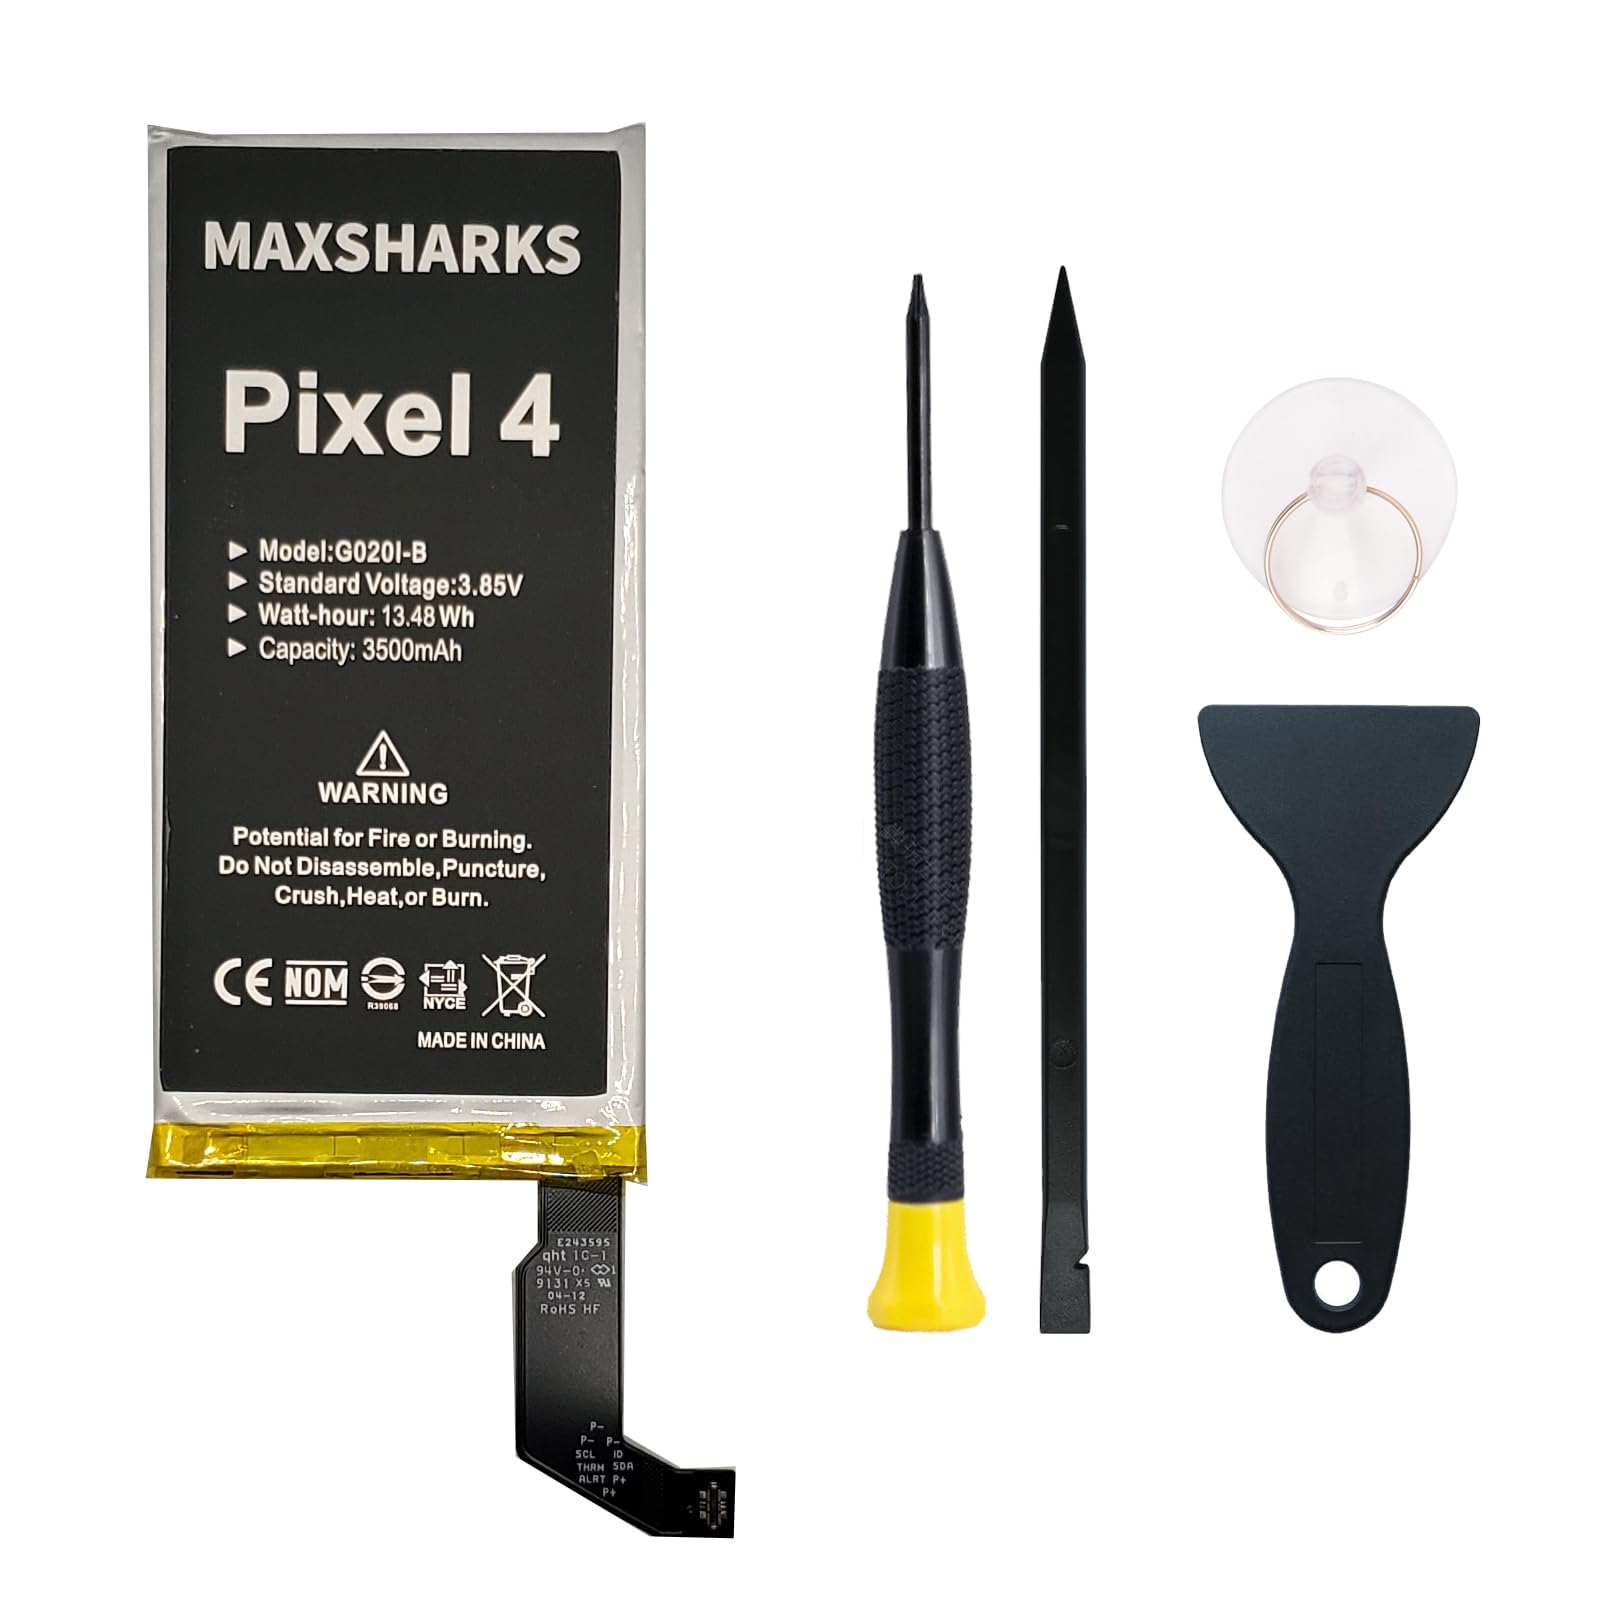
| Item model number | G020I-B |
| Manufacturer | MAXSHARKS |
| Package Dimensions | 8.35 x 5.16 x 0.75 inches |
A**L
Appears to be OEM Pixel 5 battery and has tools needed to replace and reseal phone!
I was surprised at this price that the battery matched the one that came out of the phone so either it's OEM or someone replaced my battery already. This $18 kit restored the battery life and replaced a battery that was starting to bulge. Included all the tools required plus instructions. The guitar pick spudges have limiters on one side which can keep you from poking too deep - important for the middle left side of the screen to avoid the screen wiring. The instructions weren't as detailed as some websites, but were sufficient. Removing the screen is probably the scariest part - make sure you get under the bezel lip and loosen the adhesive around the perimeter - having a tempered glass screen protector likely makes the screen less fragile. It was challenging to get the battery out once the peel tape broke, but with some prying it did come - watch out for the fingerprint sensor wiring about 20% from the top of the battery and the black wire which is a bit more obvious about 10% from the bottom of the battery (see pic of phone case without battery). The two sided tape holding the battery in is only at the top and bottom. I filled a glass dish with boiling water, drained/dried the water, then placed the aluminum phone case back against the glass for awhile in hopes of softening the adhesive. The precut seal for remounting/resealing the screen and bezel fit neatly - make sure you install it in the proper order after peeling off the old adhesive. You can install the adhesive on the phone back, then reconnect the screen cable (a bit tricky with my big clumsy fingers) and power on the phone to check that it works correctly before snapping the screen in. Pictures show comparison of new and old battery as well as case and the wires you should avoid prying against.
A**R
Saved myself a huge headache and didn't need to buy a new phone!
Exact fit and worked perfectly! Instructions were great. It's like a new phone. Highly recommended!
F**C
This battery sucks.
This battery is really bad. It makes my phone shut down randomly and I can't get it to turn back on until I plug it in. Sometimes, it seems to just dump all it's power. The battery was at 70% then dropped down to 0 in a few seconds.
W**S
Some instructions included
The battery seems good. The instructions are lacking. Terms like "may fall out during disassembly" and lacking any indication as to the correct placement. Also the instructions are for disassembly only. Several parts have no indication as to use or placement. Does this kit support other models and this the need for the mystery parts. Internet search is your friend! Take pictures once you remove the screen so you may have a clue as to the proper placement of the mystery bracket.
N**Z
Actually really good.
No issues with the install, the battery keeps a charge well. Nice little kit with lots of extra little tools.
M**K
Google Pixel 3 XL
I took a chance because there were 0 reviews I could not find any feedback for my particular phone Google Pixel 3 XL. Kit had everything I needed and parts fit perfectly. I may try to update this after I see how the battery performs. The battery had about a 63 % charge on it and fully charged successfully. Hope this helps. Photo of my old battery it looked like a pillow and I'm so glad it had not gotten punctured. That battery was still working but was threatening to set me on fire so I had to replace it. 👍
S**D
Be patient and resourceful
Battery is a same width but about ¼ inch shorter than the original but fits and is secure after reassembly. Instructions are good but incomplete. Had to go on YouTube and find a video of someone tearing down and reassembling a 2023 Motorola 5g Power. This battery holds charge much better than original.
V**.
Clean glue residue and find Gasket "polarity"...
Hi! This is by far the best battery replacing kit I ever used! Everything you need to use is there. Use a hair fan on low for 5 min around the perimeter of back cover, do not overheat. Spend your time to remove the black glue residue using small screwdriver , use lens, if necessary - do not leave any residue. New back cover gasket - it has "polarity" , so to match spend your time to find UP and DOWN sides, then remove the red film and pressure gasket down with your finger and/or small flat screwdriver . When in place - replace the back cover by applying heat and uniform pressure. I didn't use any cloth pins but replaced my phone protector to maintain the pressure. My opinion - this kit is worth extra $.
Trustpilot
3 weeks ago
3 weeks ago