Desert Online General Trading LLC
Dubai, United Arab Emirates
Desert Online General Trading LLC
Dubai, United Arab Emirates


⚡ Transform your bike into a speed machine and own the road like never before!
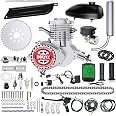
The IMAYCC 80cc Bike Motor Kit converts standard 26-28" bicycles into powerful motorized rides with a 2-stroke, 2.1kW engine. Featuring a 2.5L fuel tank, foot pedal start, and compatibility with various bike types, it offers an efficient, durable, and thrilling upgrade for outdoor enthusiasts ready to elevate their cycling experience.


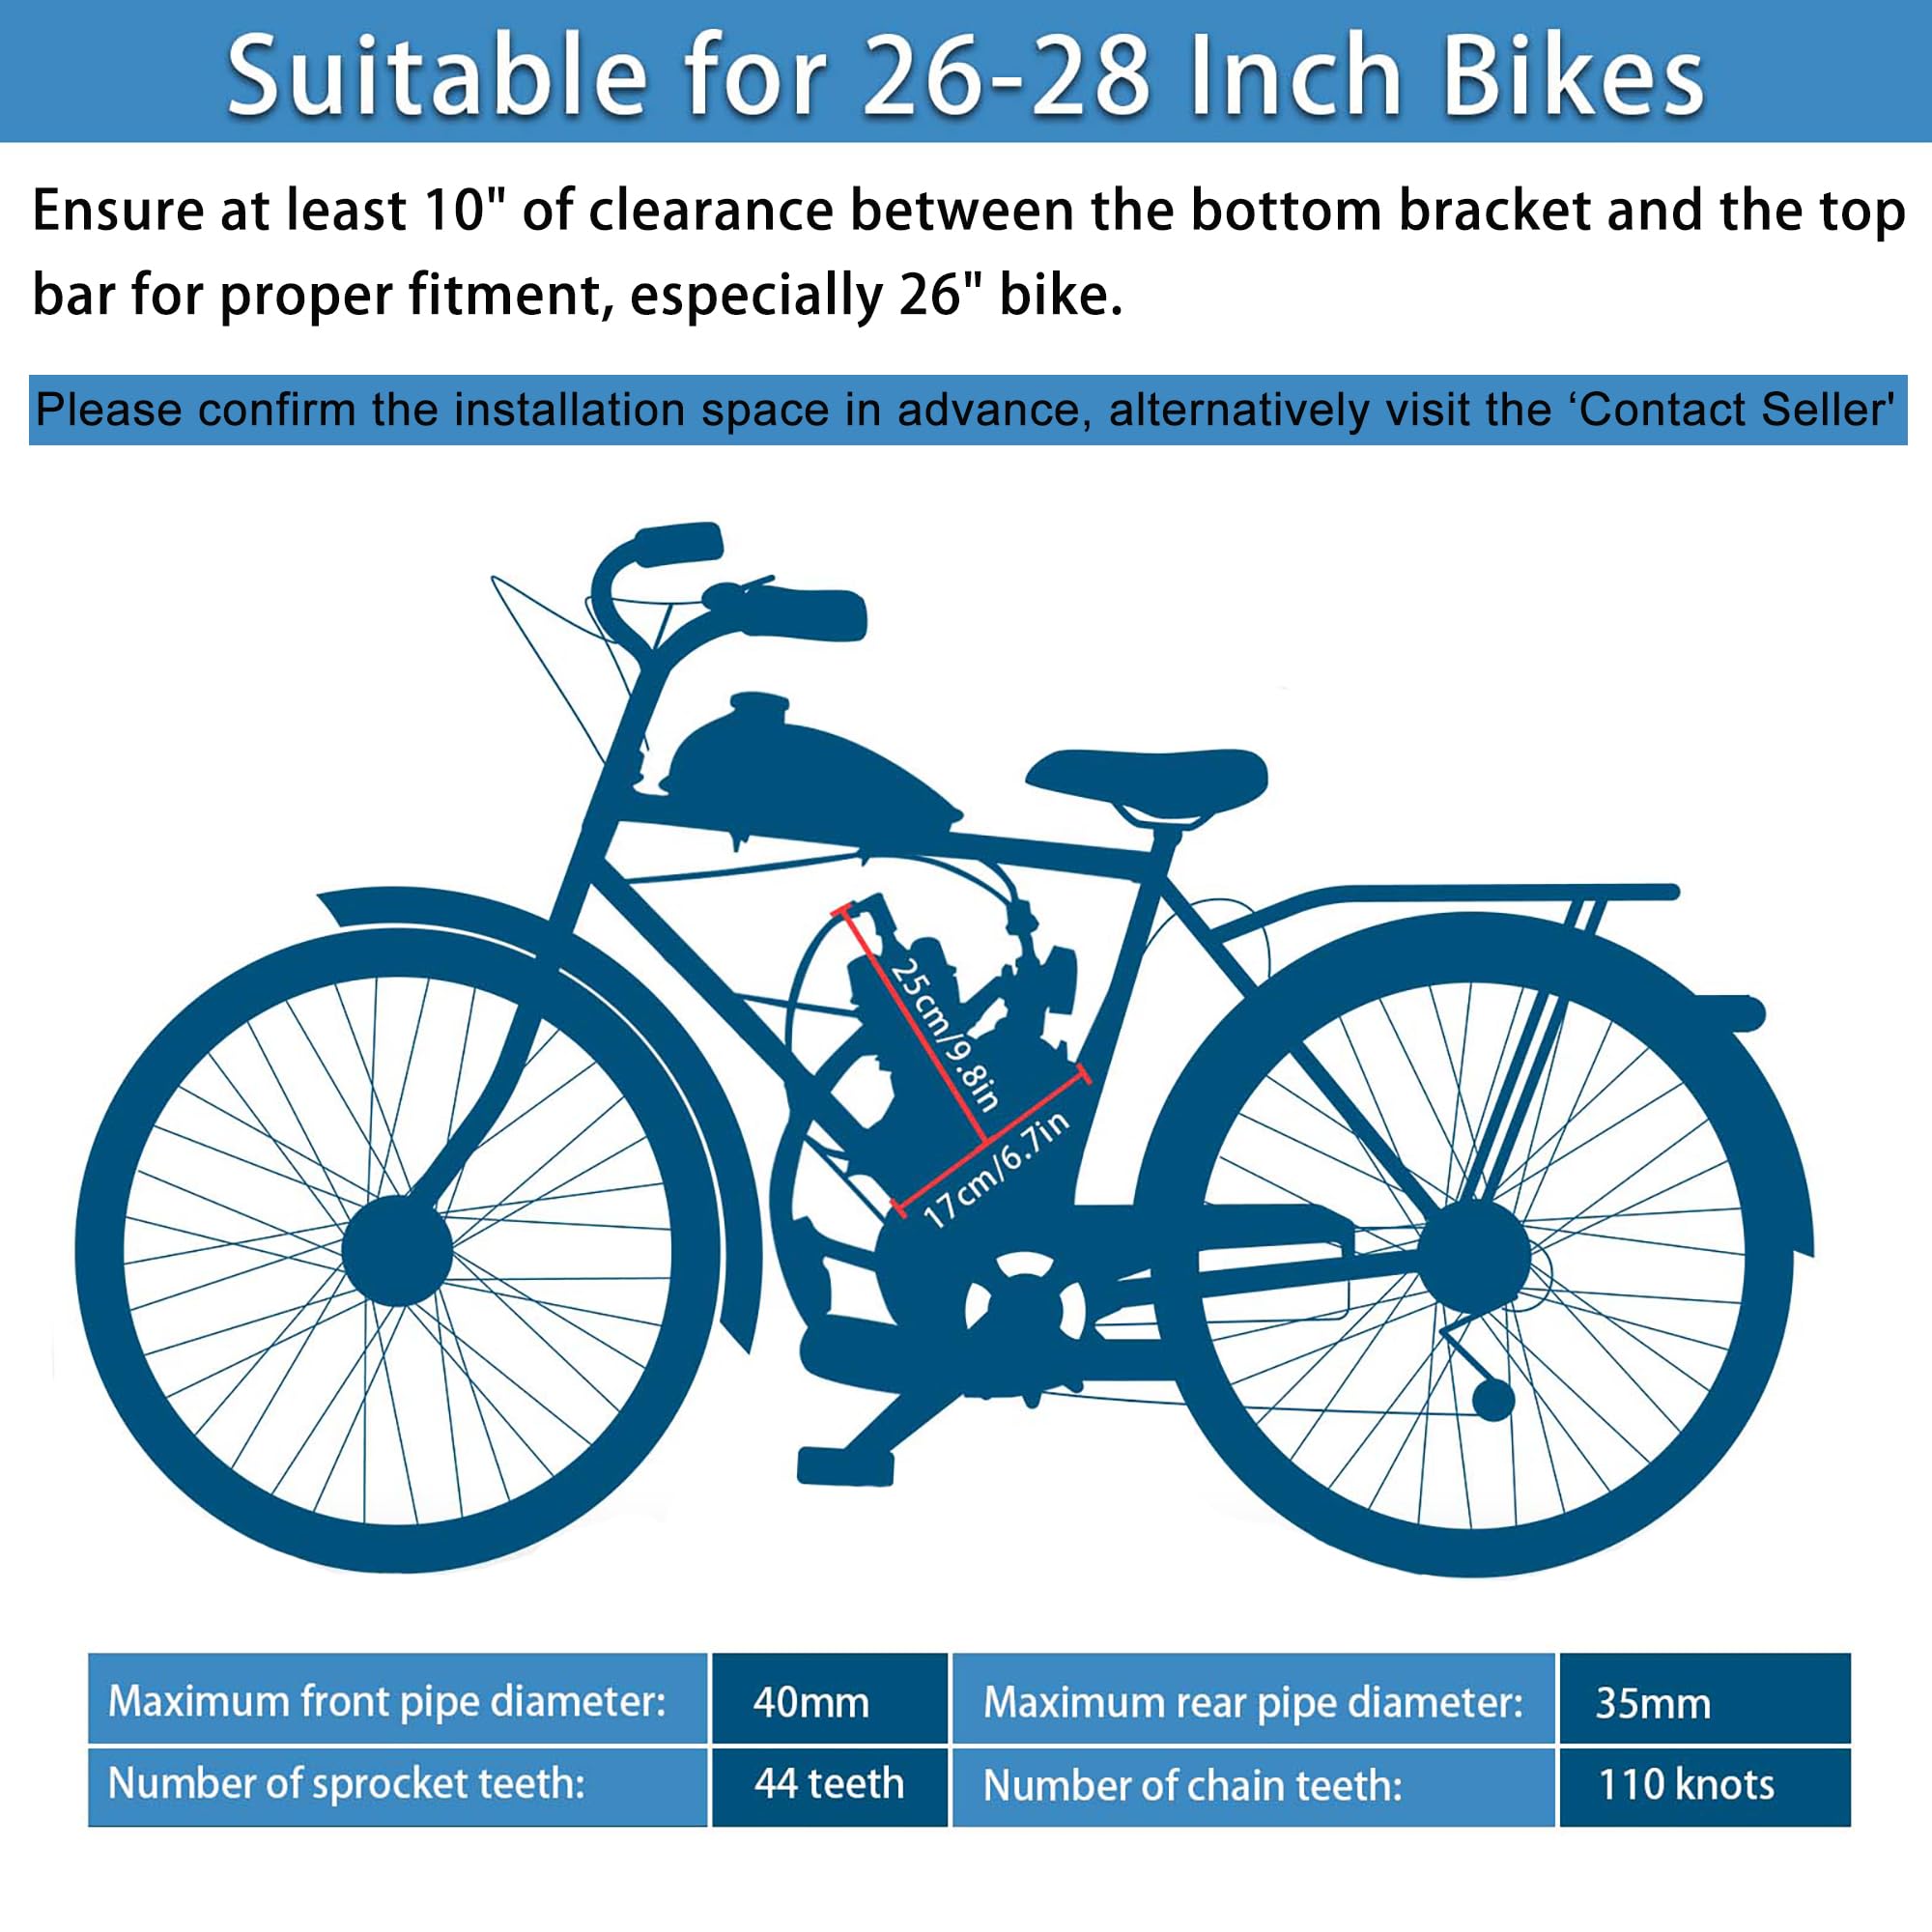
| Bike Type | 26-28" wheeled bikes (mountain bikes, cruisers, motorcycles, road bikes) with V-frames |
| Age Range (Description) | Adult |
| Brand | IMAYCC |
| Number of Speeds | 36 |
| Color | 80CC Silver |
| Wheel Size | 28 Inches |
| Frame Material | Metal |
| Suspension Type | Rear |
| Special Feature | mountain bikes, cruisers, road bikes,etc |
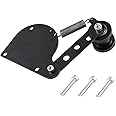
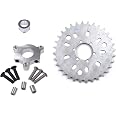
| Included Components | bike engine kit |
| Size | 17.6x17.6x8.2inch |
| Brake Style | Rim Brakes |
| Specific Uses For Product | Gravel, Road, Trail |
| Item Weight | 24.91 Pounds |
| Model Name | Bicycle Engine Kit |
| Power Source | liquid fuel |
| Wattage | 2.1E+3 |
| Wheel Material | Aluminum |
| Assembly Required | Yes |
| Bicycle Gear Shifter Type | Trigger |
| Skill Level | Intermediate |
| UPC | 688529114301 |
| Manufacturer | IMAYCC |
| Frame Size | 26-28" bike |
| Item Weight | 24.9 pounds |
| Product Dimensions | 17.2 x 17.2 x 7.8 inches |
| Item model number | 80cc Bicycle Engine Kit |
| Manufacturer Part Number | JHUS018 |
| Special Features | mountain bikes, cruisers, road bikes,etc |
TrustPilot
1 个月前
2 个月前